1. The space it takes up (can be a half a space wide, a whole space, etc.)
2. The number of stitches or 'steps' it takes to go from one side to another.
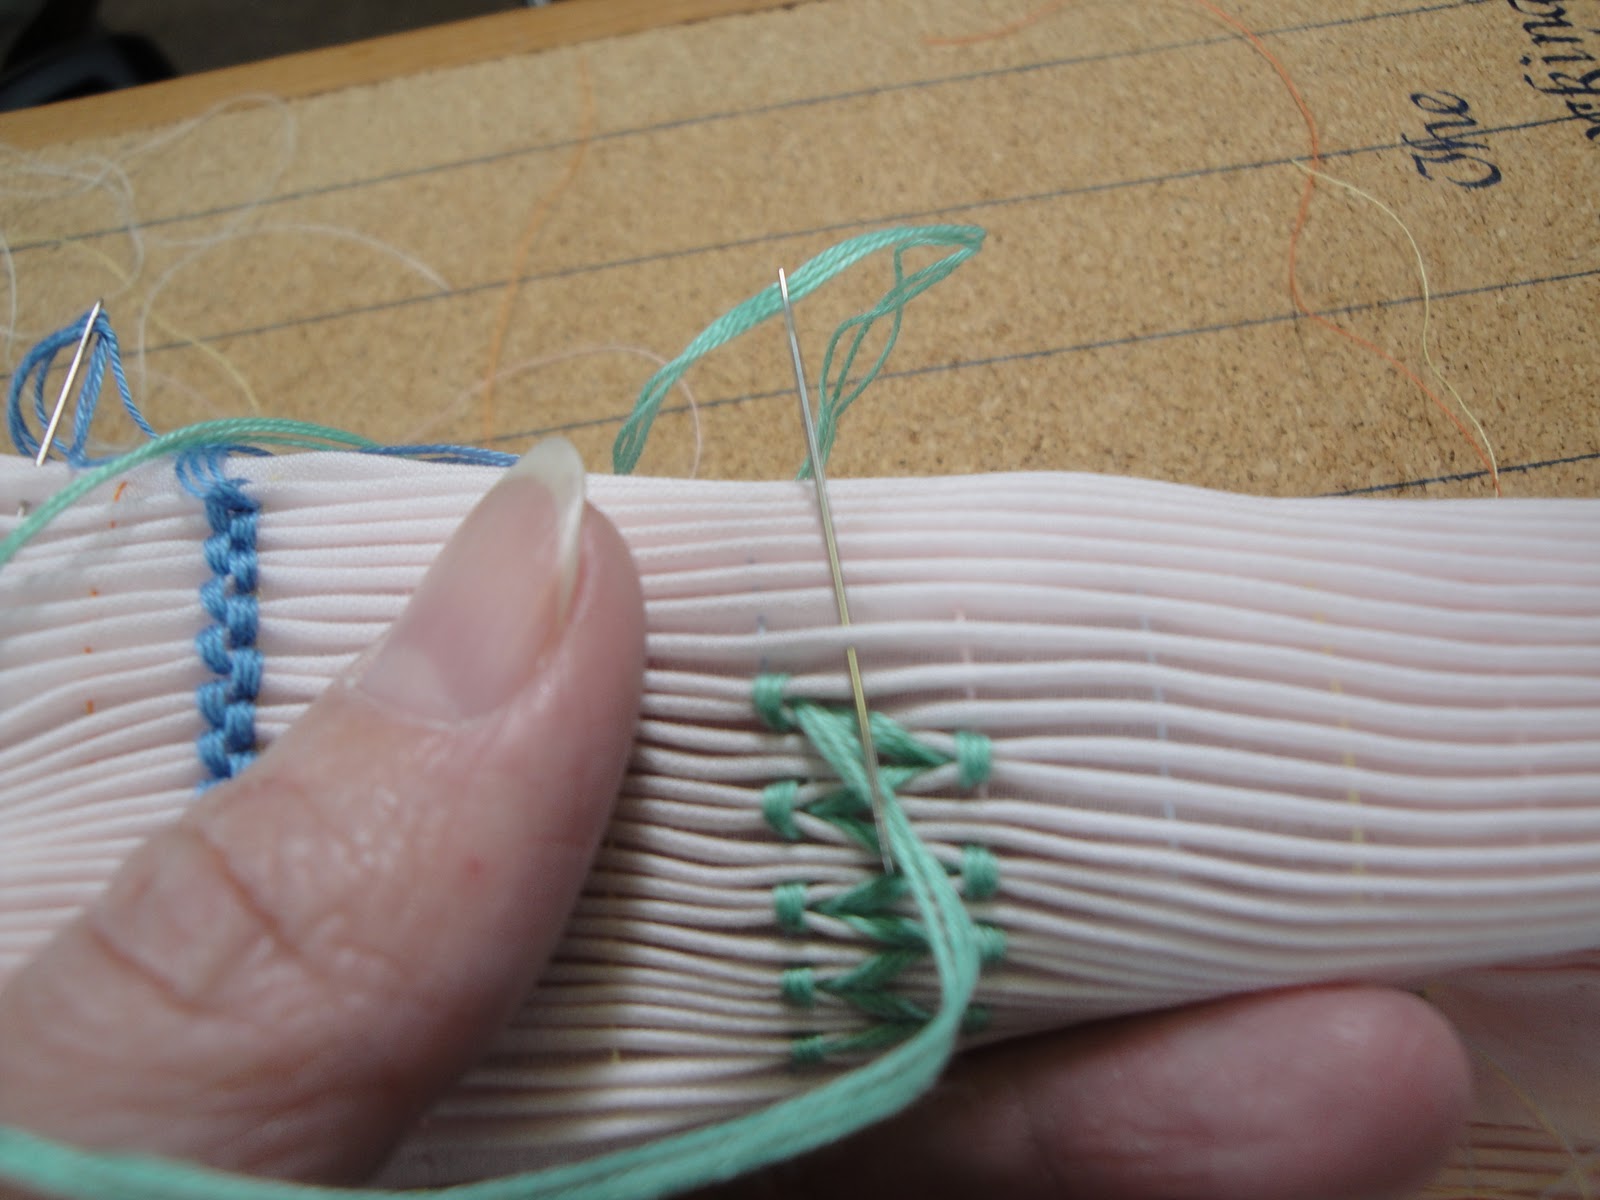
If you look at this picture, the long trellis is a 2 space (travels over 2 rows), 6 step (it takes 6 stitches to travel the 2 rows).

The next picture is of a baby wave. This trellis is a half space, 1 step trellis

The distance each trellis travels is a half of a space and it only takes one step to get there.
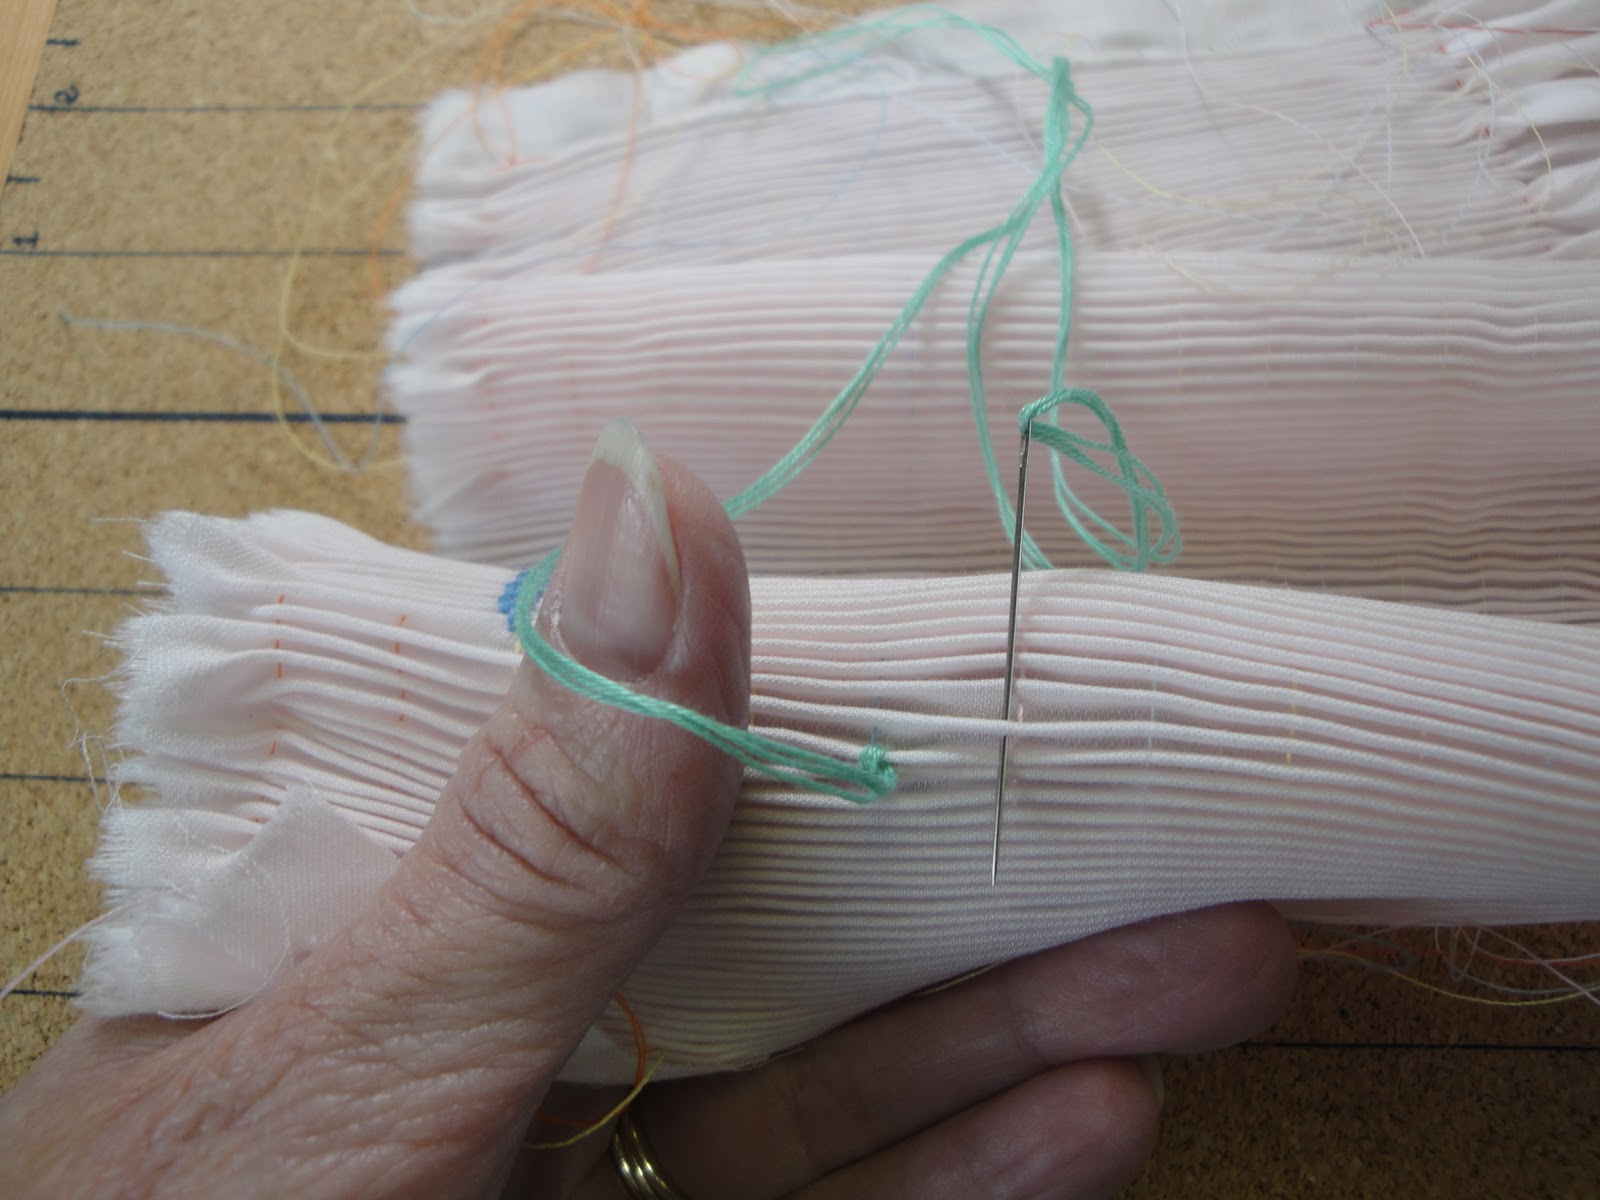
There are few things to remember when stitching a trellis. The thread has to go in the opposite direction that it wants to go. If you are stitching to the right, the thread has to stay to the left. If you are stitching to the left, the thread has to stay to the right. An easy way to remember this is Trellis is Trouble!
If you look back at the cable tutorial, Cable is Correct! The thread goes in the direction it wants to go. For Trellis is Trouble, the thread has to go in the opposite direction that it wants to go.
Another thing that has to be taken into consideration is the needle placement in the pleat. If you place the needle right over the pleat, when the stitch is finished, instead of butting against the pleat, it will be over the pleating thread, whch will throw the spacing off. Place the needle in the pleat a thread's width away from where you want the stitch to finish.
Basic smocking ettiquette remains the same:
*The needle is alway parallel to the pleating thread
*The stitch should be about 1/3 down the pleat
*The threads should lie straight and untwisted
*The needle should always point towards you
*Each stitch covers 2 pleats- an old pleat and a new pleat


Happy Stitching,
Vaune
Love your sight.
ReplyDeleteHope you'll do picture smocking.
Thanks! I will do picture smocking later, after the smocked yoke dress.
ReplyDeleteHappy Stitching!
It's the precision of your stitch placement that results in your beautiful results!
ReplyDeleteAs a beginner smocker, I can look over my first project (a Wee Care gown for my smocking guild) and see that I could have benefitted from your advice "Remember to put the needle into the pleat a thread's width away so that when you complete the stitch, it will butt against the pleating thread" to keep my rows in absolute alignment.
I look forward to your next tutorials! Keep up the good work! The photos are so clear and extremely helpful!
I am glad you find these helpful! I am always glad to learn a new tip that helps my stitching!
ReplyDeleteVaune